Record the sound. Leave the screen out.
Capture a voice note, your microphone and the sound your Mac plays, without starting a screen recording. Edit the take by editing its words, turn it into a video for social, and keep it in the same library as your screenshots.
Record audio on your Mac in four steps
- Open Audio Capture. Choose Audio Capture… from the SuperCapture menu bar icon or the app menu. The recorder opens with no screen source to choose.
- Pick your inputs. Turn the microphone on and choose a device; the bar shows its live level before you start. Audio interfaces with several inputs let you choose a channel. Turn System Audio on to include sound from other apps, such as music, videos or game audio. You can record either one, or both.
- Tell it what the mic is for. Under Optimize mic audio for, Voice removes background noise and evens out your level. Music records the microphone untouched. Custom sets noise removal and levelling separately. Add a 3, 5 or 10 second countdown if you need a moment to get ready.
- Record, then review the take. Pause and resume while recording. When you stop, play the take back and choose Save, Re-record or Discard. A saved recording appears in your gallery, already selected.
Clean it up, then fine-tune it
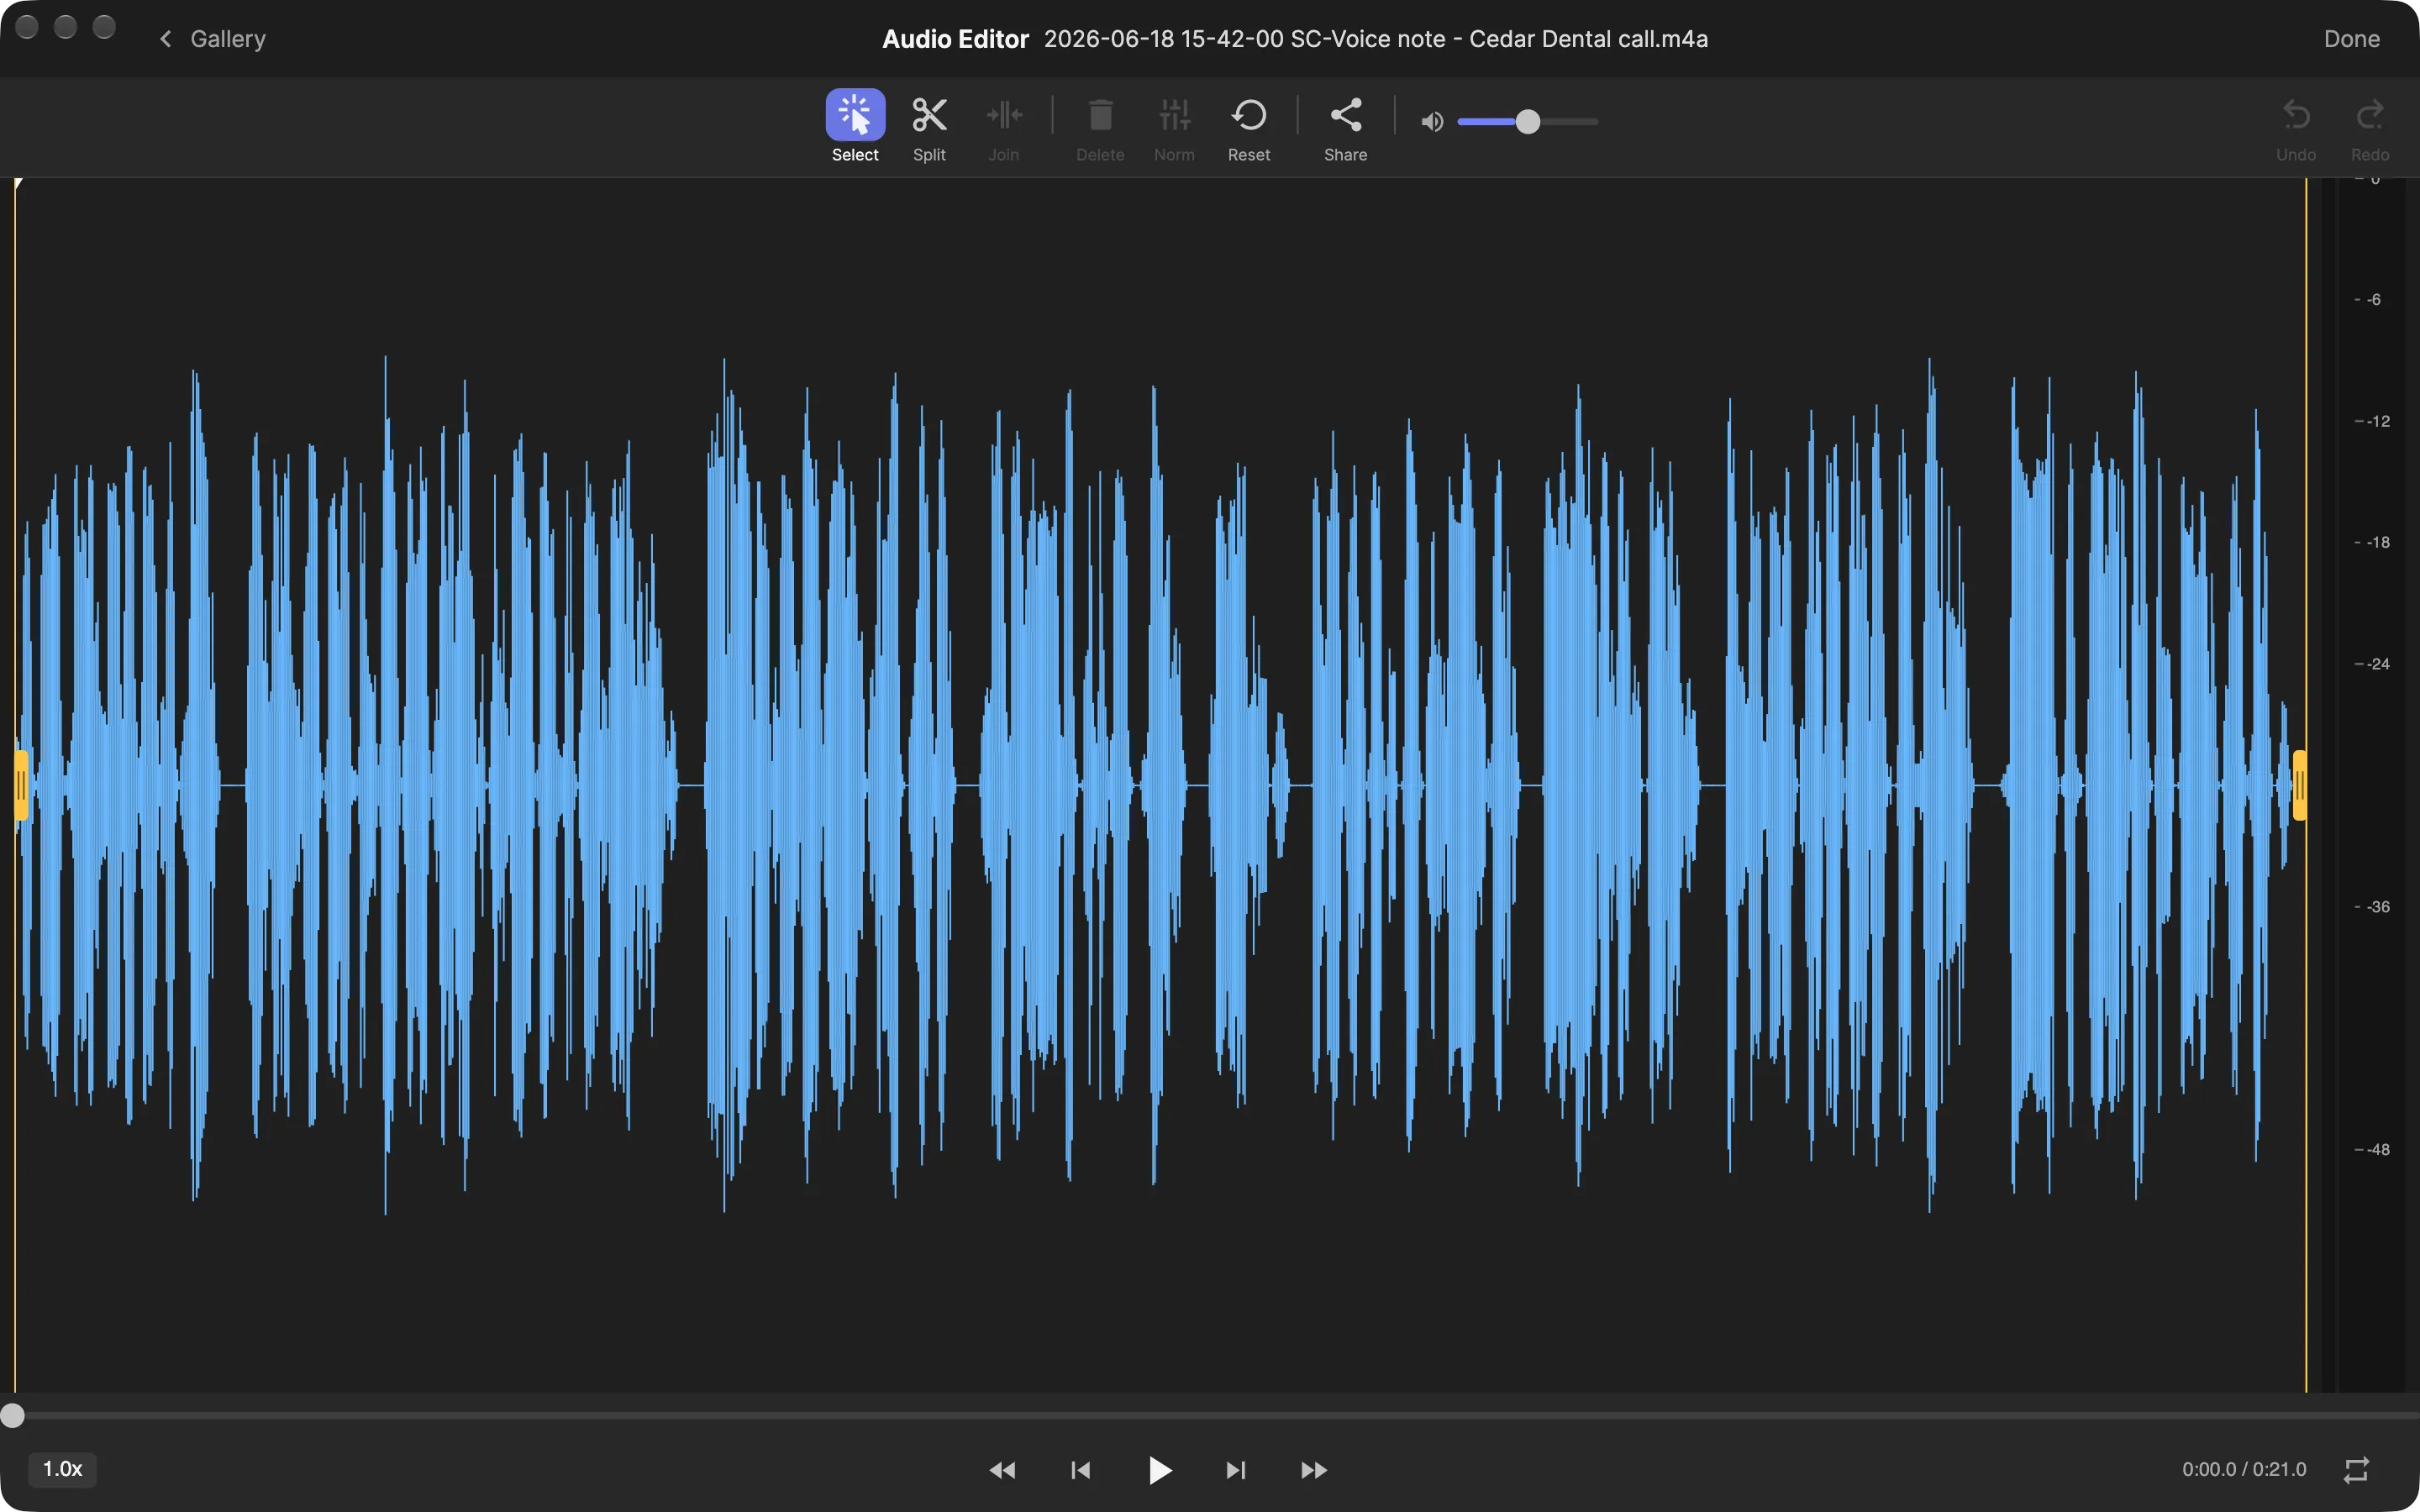
Open a saved recording from the gallery to edit it in the audio editor:
- Auto cleans up the whole take in one click. For a voice note it shortens the long pauses and sets the loudness to −16 LUFS; for music it keeps the pauses and aims for −14 LUFS. It works out which the recording is, and you can change its mind.
- Pauses shows every long pause, hatched red, before anything changes. Set how long a pause has to be and how short it becomes, click any you want to keep, play the result, then shorten them in one step.
- Loudness sets the whole recording to −14 LUFS for streaming and video, −16 LUFS for podcasts, or −23 LUFS for broadcast, with peaks held below −1 dBTP.
- Fades are drawn on the waveform: drag a region’s corner to fade it in or out, and right-click to change the curve. Drag a region over its neighbour to crossfade the two.
- Select a range and Delete it, or Split at the playhead and rearrange the pieces. Each region has its own volume line.
- Reset restores the original audio. Every edit, Auto included, can be undone step by step.
Playback runs at 0.5x, 1x, 1.5x or 2x, with a loop toggle for checking a cut. When the recording is ready, export it as WAV (lossless), MP3 or M4A (AAC) at its own sample rate or a lower one, or share it from your library.
Where a standalone audio recorder fits
Use Audio Capture when the sound is the point and nobody needs to watch the screen:
- Voice notes. Talk through an idea, a to-do list or feedback on a draft, then trim the start and end.
- Narration recorded separately. Record a voiceover for slides or a video you will assemble elsewhere, and export WAV for editing software.
- Sound from an app. Capture a notification sound, a clip or an audio glitch you want to report, with System Audio on and the microphone off.
- Practice and rough demos. Choose the Music profile so noise removal does not strip sustained notes.
When the viewer needs to see what you are doing, record your screen with system and microphone audio instead.
Edit it like a document
Click Script and the recording turns into its transcript, each word over the stretch of waveform that speaks it. Select a sentence and press Delete, and it’s cut from the audio. Shift-Delete silences it instead and keeps the timing. Type over a word the transcription misheard, and only the text changes.
Clean Up finds the filler words, such as “um” and “uh”, and the repeated ones, and removes or silences them all in one step, or one at a time if you want to hear each. Cuts land on the quiet between words, so they don’t click, and every edit can be undone.
Transcription happens on your Mac, in 16 languages: on macOS 26 and later with Apple’s built-in speech recognition, and otherwise with a speech model that downloads once, about 60 MB. Copy the text, or save it as a .txt file or as .srt or .vtt subtitles. Turn on Auto-caption When Mic Audio Is Present in Settings and recordings with a microphone are transcribed as soon as you save them.
Turn it into a video
Click Video and the recording becomes a 9:16 video for Reels, Shorts or TikTok: its transcript as karaoke-style captions, over a visualizer that moves with the sound. Pick Bars, a Circle with your logo or cover art in the middle, or a Wave, choose a colour or a gradient, then export or share it from the video editor.
Find it again
The transcript is searchable, so a recording turns up when you type something that was said in it. Type audio: in the gallery search bar to list every audio recording. Collections and tags help you group recurring material, such as meeting notes or voiceover takes.
If the recording is silent
- No microphone sound. Check that SuperCapture has Microphone access in System Settings. If macOS has denied access, SuperCapture offers a prompt to open the setting.
- No system audio. Make sure System Audio is on and the other app is actually playing. System audio is captured through macOS screen capture, so check the Screen Recording permission too.
- Record is unavailable. Turn on at least one input: the microphone or System Audio.
- Music sounds thin. Noise removal is tuned for speech. Switch the profile to Music.
- Levels feel uneven. Click Auto or Loudness in the editor. For the next take, Settings → Recording has separate Normalize Microphone Audio and Normalize System Audio options, which compress the level while you record.
System Settings labels vary by macOS version. If the problem persists, use the support links in the setup guide.
Requirements and privacy
SuperCapture requires macOS 15 (Sequoia) or later and Apple Silicon (M1 or later). Recording, editing and export happen in the app on your Mac, and a new recording is saved to your local library as an M4A file. Cloud sync is optional; read the security overview before syncing or sharing sensitive recordings.
Install SuperCapture for Mac to make your first audio recording, or compare plans for cloud storage and sharing.